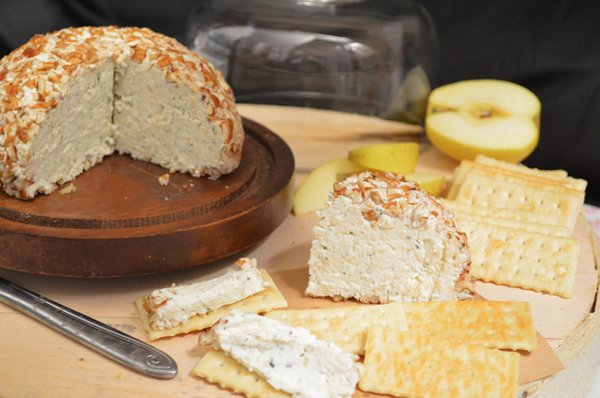
Follow our step-by-step, photo illustrated recipe to make this really quick and easy appetizer. Avoid the rush, make it a day or two ahead of time and keep it in the refrigerator until ready to serve. And yes, it DOES contain white meat chicken breast. The taste is absolutely delicious. Great for game time, holidays, any event you’ve got coming up. Printable recipe included.

Chicken Cheese Ball recipe:
Need a quick and easy appetizer for your next family and friends get together? Cheese balls are always a hit, and this one will be ready to serve in no time. You can even make it a day or two ahead, so you’re not pushed trying to have everything come together at the last minute. It’s just that easy… and super delicious.
I originally created this post in conjunction with the November, 2014 issue of our Our State Magazine. I’ve been working with them for the past couple of years, submitting recipes to their Our Sate Eats website. The November magazine issue was all about music, so I felt this would be a good introduction to my music story.
First of all, I can’t play a single instrument. I tried the drums, and I’ve tried guitar, I just never have learned to play them. That’s why at an early age, I decided to “play records” instead.
Most of my working life was spent as a local radio announcer. I’ve worked at several of my home town stations, and was even involved in placing one on the air. I’ve always loved broadcasting, and I could share lots of stories with you, but what has that got to do with this recipe?
During my last couple of years on-the-air, I had the pleasure of meeting one of our listeners that everyone at the station loved dearly. Everyone just called her Mama Ruth.
Several of the full time employees at the station were already favorites of Mama Ruth’s. When I came along, she added me to the bunch, and I will forever be grateful for her friendship. Before our birthday each year, she’d call and ask what kind of cake we’d like to have for our big day. I always chose her Strawberry Cake, but anything Mama Ruth prepared was always really good.
On your birthday, Mama Ruth would bring in a great big cake, the one you told her you liked, along with cookies, crackers and a Chicken Cheese Ball. She’d also bring us homemade cookies, candies and cheese balls at Christmas time. She just liked us, and we were blessed that she did.
Mama Ruth’s Cheese Balls were the absolute best in my opinion. She’d bring a box of Ritz Crackers along with it, which she says are the best one’s to serve with this recipe. Of course, that cheese ball didn’t usually last very long once everyone discovered it was in the break room. It was just too good not to enjoy.
I’ve been out of radio for a couple of years now, but I still trade a few emails with Mama Ruth. I asked her recently if she would share her recipe, so I could share it with you. She seemed happy to oblige.
Yes, it does have chicken. If you’ve never tried one, today would be a good time to do just that. It’s super easy to prepare, and all your family and friends will love you for it. I promise. So, if you’re ready for a quick and easy treat, good for birthdays, holidays and more… Let’s Get Cooking!
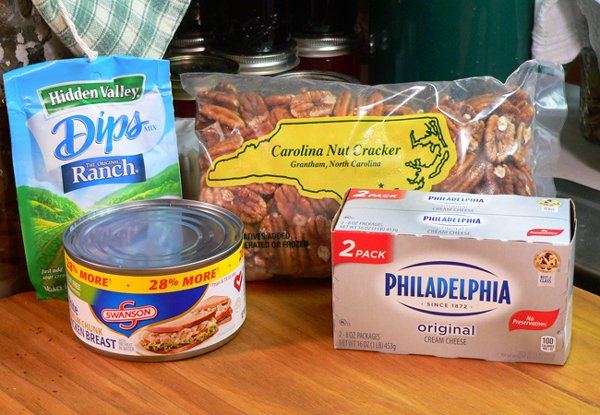
Mama Ruth’s Chicken Cheese Ball recipe: You’ll need these ingredients.
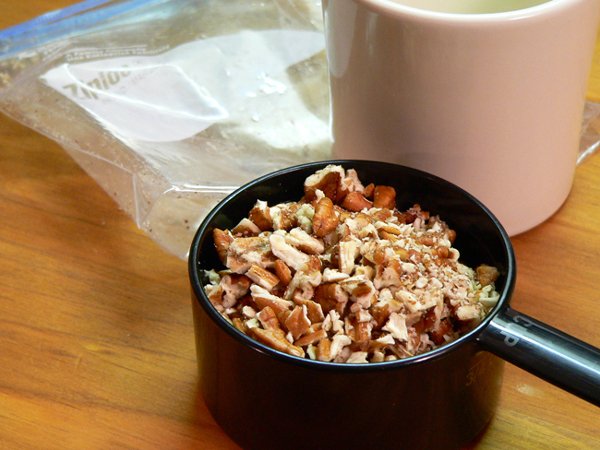
You’ll need about one cup of chopped Pecans to roll your cheese ball in. I had whole pecans in the freezer and had to chop them myself. Simple enough though. I placed the pecans in a zip lock bag, then pounded them a bit with the edge of a coffee cup.
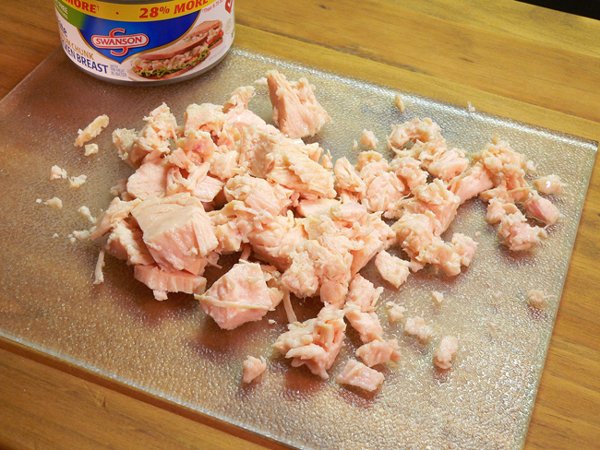
Drain all the liquid off the canned chicken.
To do this, I cut the top with the can opener. Don’t remove the top just yet. Hold the can over the drain of your sink and press the lid of the can down onto the meat. This will squeeze as much of the liquid out of the can as possible. Just be careful your fingers don’t slip.

Scoop the meat out onto a cutting board, and chop it very fine with a good knife. You could certainly place it in a food processor if desired, but why bother having to clean another appliance when chopping is this easy? As soft as the meat will be from the can, you could probably just work it with your fingers and break it up about as fine.
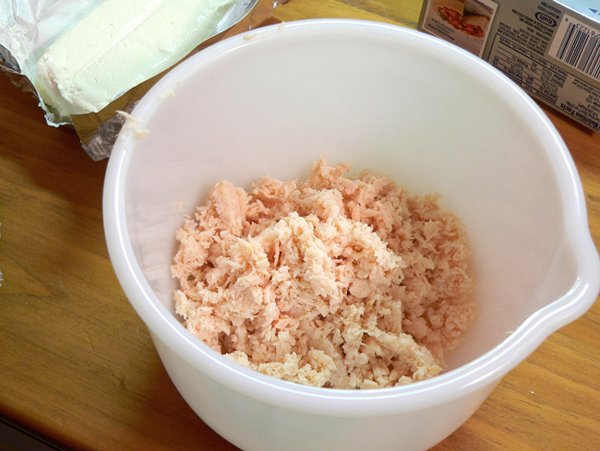
Place the chopped meat into a medium sized mixing bowl.

Add the packages of cream cheese.

Sprinkle the Ranch Seasoning Mix all around the bowl.
The recipe calls for the entire packet of seasoning mix. While it adds a lot of flavor to the finished Cheese Ball, it does seem to make it a little bit on the “salty” side. You might want to consider leaving a little of the seasoning out at first, then add more if you think it needs it once it’s mixed. Just a thought, and you can thank me later for having it. (Smile)
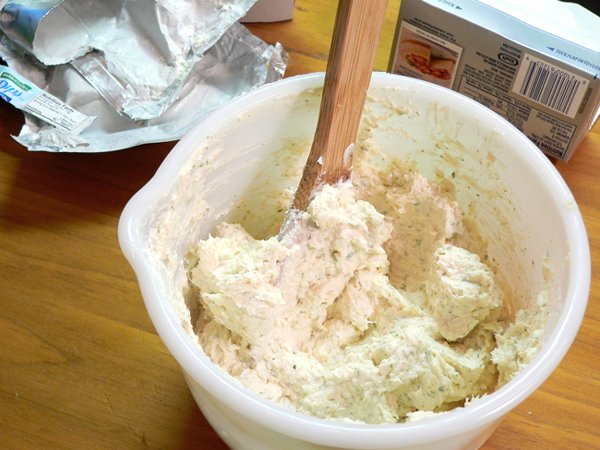
Grab a strong wooden spoon, sit down for a couple of minutes and mix everything up together really good. A mixer would also work, but again, why mess up another appliance that you’ll just have to wash later. Once you start mixing, the mixture will soften up even more, and you’ll be able to work it all together pretty easily.
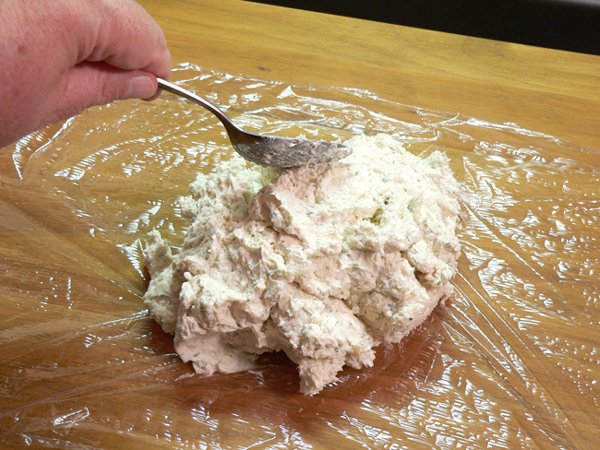
When you’re certain it’s mixed up really well, spoon the mixture out onto a large piece of plastic wrap.

Gather the edges of the plastic wrap up around the mixture, and begin to shape it into a ball. The warmth of your hands will continue to soften up the cream cheese as you go, making it easy to shape. Then, close up the loose ends firmly around the ball.
Place this in the refrigerator for about 30 minutes or more, to let it firm up some before adding the pecans.
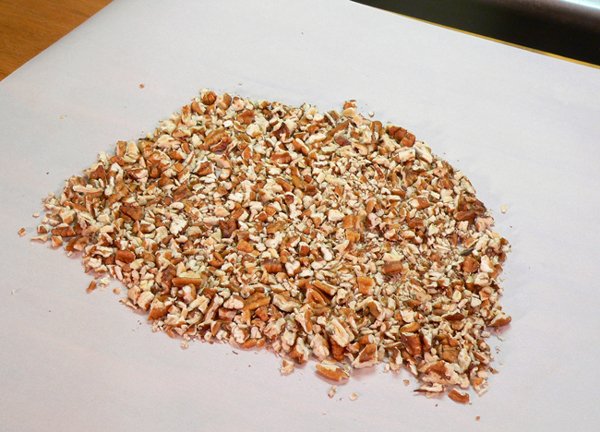
Place a large section of wax paper, or parchment paper, on your counter top or table. Spread the chopped pecans out in a thin layer on top of the paper.

Place the top of the cheese ball down on top of the pecans. Roll it all around in the pecans until it’s fully covered, top and bottom, with chopped pecans.
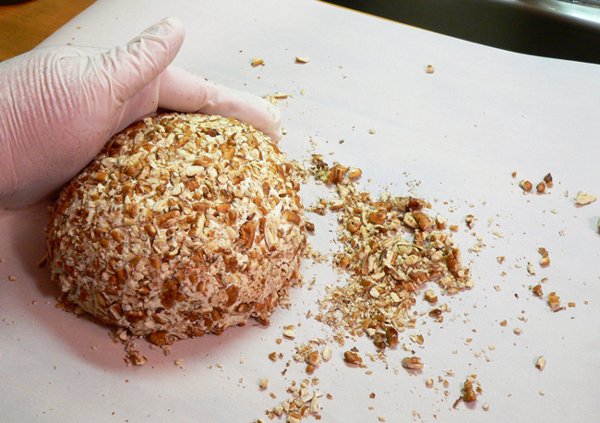
I opted to use gloves for this part. Just roll the ball all around in the chopped pecans, sprinkle and pat them all around the sides, do whatever it takes to get them to stick all over the cheese ball. Press them in firmly so they don’t fall off. As for the gloves, why mess up another appliance – your hands – when you don’t have to. (See a pattern here?) If you don’t have gloves, the cheese should be firm enough after a little time in the fridge, that it doesn’t stick like glue to your hands while coating it.

Once you’ve got it shaped like you want it, wrap the completed cheese ball in another section of plastic wrap and place it back in the refrigerator until ready to serve. See how easy that was?
This Chicken Cheese Ball will keep up to 7 days in the refrigerator, so it’s easy to make this a day or two ahead of time so it’s one less thing to do on the day you plan to serve it. For best results, let it come to room temperature before serving.

Enjoy!


